Set it up
Configure ROOter after a Flash
When you initially upgrade your router to a ROOter you must reconfigure the router setting to match your needs. This step is not needed when upgrading to a new ROOter version if you had the Keep Settings box checked. If it was unchecked then you must reconfigure it again.
The following are some of the areas that need to be configured in order to make proper use of your ROOter.
For those using Wifi to access the router after flashing the default password is rooter2017
Setting the Password
When you first access the web interface of the firmware after flashing it there will be no password set. Just leave the password field blank and continue on to the GUI. The first thing that should be done is to set a password to protect the router. Do this by going to the System menu and the Administration submenu.
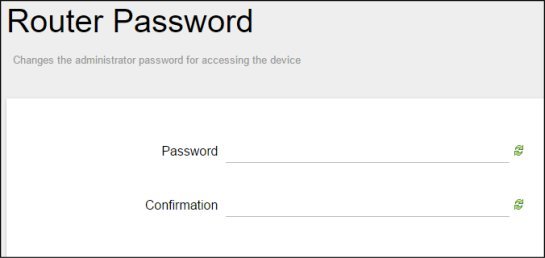
Enter the password, confirm it and then click on Save and Apply in the lower right corner. Wait until the changes take place.
Setting the Router Time
At this point we can set the time in the router. Click on the System menu and on the System submenu.
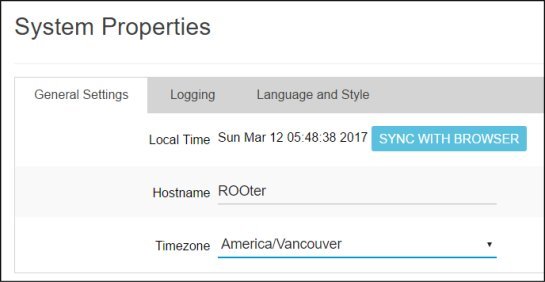
Select the correct Time Zone from the dropdown box, click on Sync with Browser, then click on Save and Apply in the lower right corner. Wait for the changes to take place.
If you plan to use Scheduled Reboot it is critical that you set the Timezone and time correctly for your area. If you don't then the reboot will not take place at the correct time.
Set the Router IP Address
By default the ROOter firmware sets the router to have an IP Address of 192.168.1.1. If you wish to change this to another address to avoid conflicts with other devices on your network, select the Network menu and the Interfaces submenu.
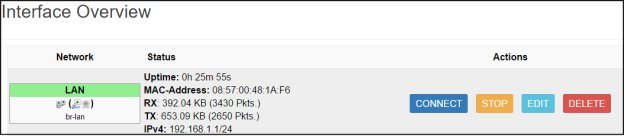
In the LAN row, click on the Edit button.
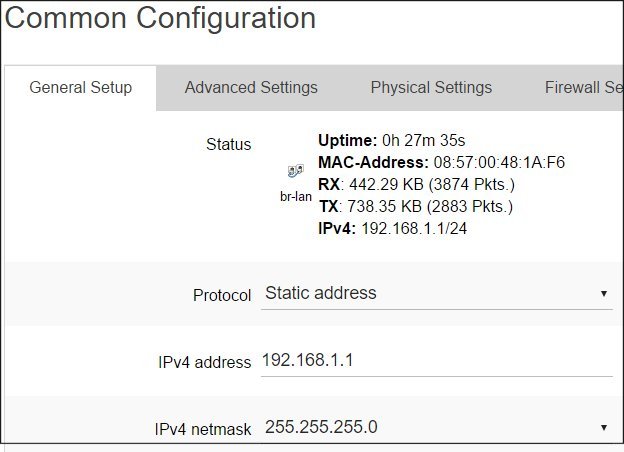
Change the IPv4 address to the IP Address you wish to assign to the router and click on Save & Apply in the bottom right corner. Wait for the changes to be applied.
Since the IP Address has been changed the web interface will stop working and continue to show that the changes are being applied. Wait for a few seconds and then change the URL on your web browser to the new IP Address of the router. You will then be able to log in again, this time using the new IP Address.